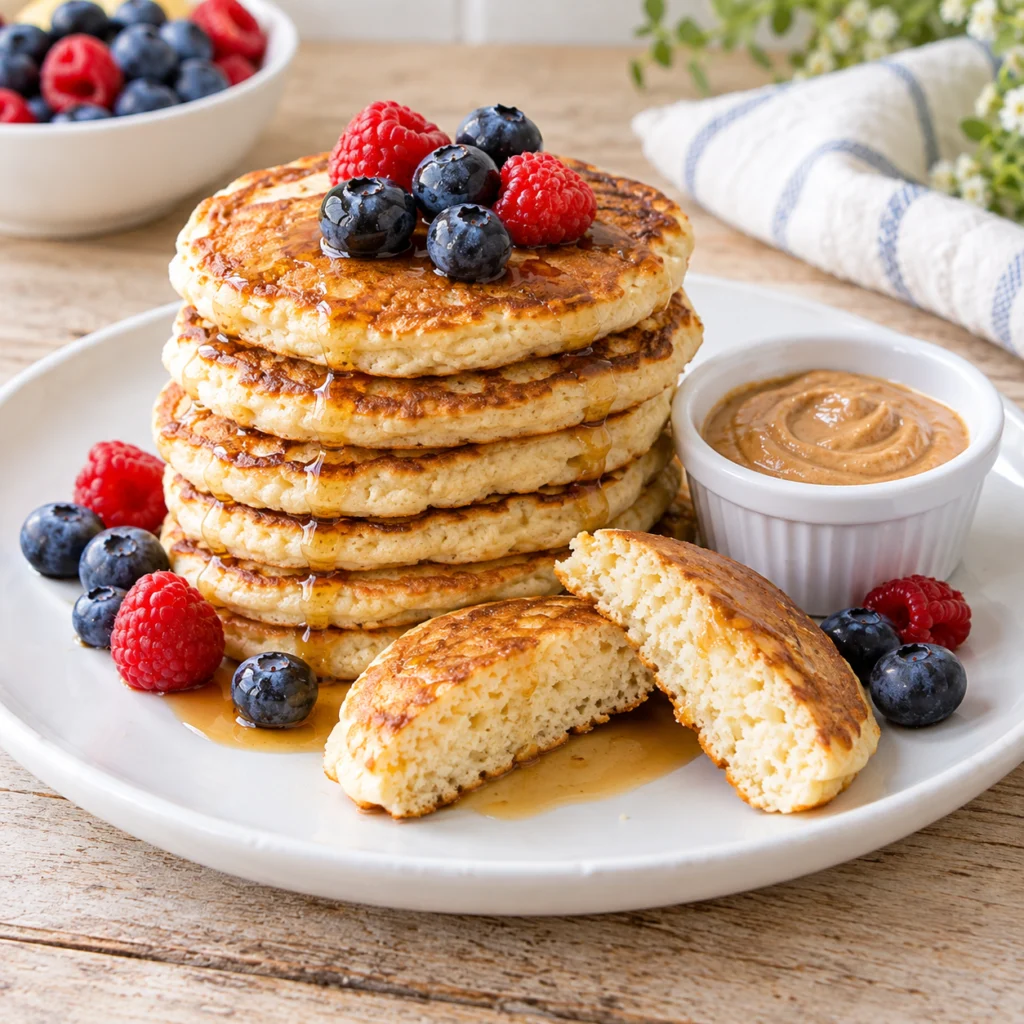
Homemade English Muffins have a soft, airy inside, a lightly chewy texture, and a golden griddle-cooked crust. This easy from-scratch recipe uses a sticky, high-hydration yeast dough and a gentle stovetop cooking method to create the signature nooks and crannies that catch melted butter, honey, and jam. Make a batch for weekend breakfast, brunch, or freeze them for quick homemade breakfasts throughout the week.

Quick facts
Quick Facts
| Detail | Information |
|---|---|
| Prep Time | 20 minutes |
| First Rise | 60–90 minutes |
| Second Rise | 20–30 minutes |
| Cook Time | 15 minutes per batch, approximately |
| Total Time | Approximately 2 hours 15 minutes–2 hours 45 minutes |
| Servings | 10 muffins |
| Course | Breakfast, Brunch |
| Cuisine | British-Inspired |
| Difficulty | Moderate |
| Main Ingredients | All-purpose flour, milk, yeast, butter |
| Cooking Method | Stovetop griddle or skillet |
Timing depends on how quickly the dough rises and whether you cook the muffins in multiple batches.
Why You’ll Love This Recipe
- Classic nooks and crannies: The soft, airy interior creates plenty of little pockets for melted butter and jam.
- Simple pantry ingredients: You only need flour, milk, yeast, butter, salt, water, and a little honey or sugar.
- No oven required: The muffins cook directly in a skillet or on a griddle.
- Better fresh flavor: Homemade English muffins have a warm, yeasty flavor and tender texture.
- Freezer-friendly: Make a batch ahead and freeze the muffins for convenient breakfasts.
- Easy to customize: Serve them sweet with honey or jam, or make savory breakfast sandwiches.
Ingredients
These homemade English muffins use a simple yeast dough. Milk and butter add richness, while yeast creates the airy structure. Cornmeal gives the bottoms their traditional texture and helps prevent sticking during the second rise.
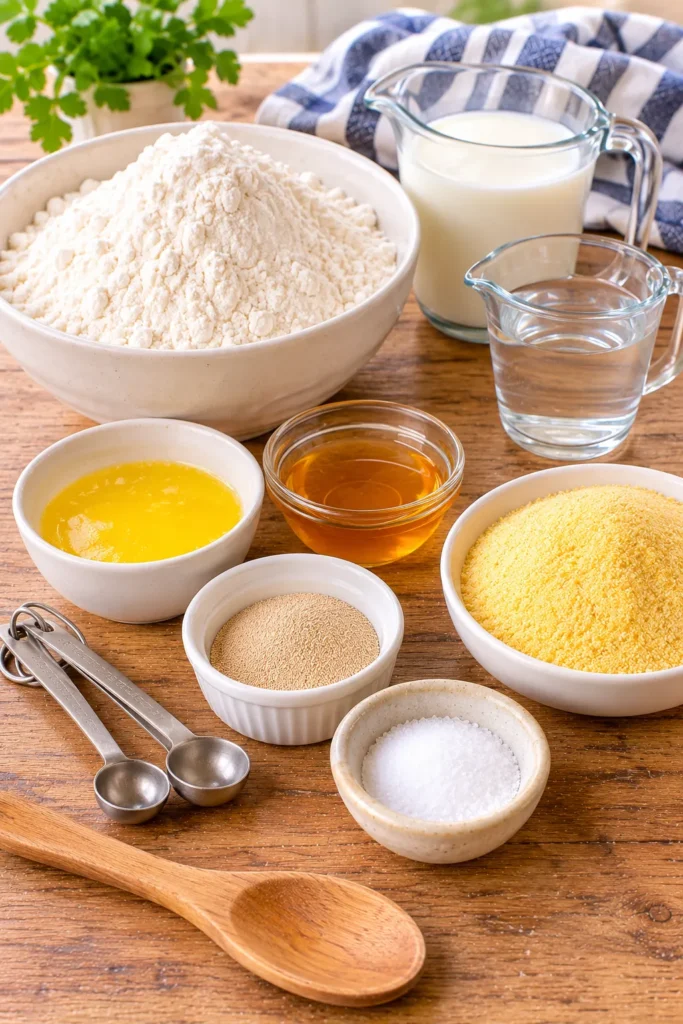
Main Ingredients
- 3 ½ cups all-purpose flour (438g)
- 1 cup whole milk (240ml), warmed
- ½ cup warm water (120ml)
- 2 tablespoons unsalted butter (28g), melted and cooled
- 1 tablespoon honey or granulated sugar (15g)
- 1 packet active dry yeast (2 ¼ teaspoons / 7g)
- 1 teaspoon fine sea salt (6g)
- ½ cup yellow cornmeal (60g), for dusting
Ingredient Notes and Substitutions
All-purpose flour: This creates a tender English muffin with a soft crumb. Bread flour can be used for a slightly chewier texture.
Whole milk: Full-fat milk adds richness and helps produce a soft interior. Warm it gently rather than using it hot.
Warm water: Use water around 105°F–115°F to help activate the yeast. A thermometer is useful because water that is too hot can damage the yeast.
Unsalted butter: Melt and cool the butter before adding it to the dough. If you use salted butter, reduce the added salt slightly.
Honey or sugar: Either option provides a little food for the yeast and adds a subtle sweetness. Maple syrup can also work.
Active dry yeast: Check the expiration date and allow it to foam in the warm liquid before mixing the dough.
Fine sea salt: Salt balances the flavor and supports the dough structure. Measure carefully.
Yellow cornmeal: This traditional coating gives the muffin bottoms a lightly crunchy finish and helps keep the dough from sticking to the baking sheet.
How to Make Homemade English Muffins
The key to great English muffins is a sticky dough, enough rising time, gentle shaping, and low, steady skillet heat. Avoid adding too much extra flour because the moisture in the dough helps create the airy interior.
Step 1: Activate the Yeast
In a large mixing bowl, combine the warm milk, warm water, honey or sugar, and active dry yeast. Stir gently and leave the mixture for 5–10 minutes until a foamy layer forms on the surface.
Add the melted and cooled butter and whisk gently to combine. If the mixture does not foam, check the yeast’s expiration date and the liquid temperature before continuing.
Step 2: Mix the Dough
Add the flour and salt to the yeast mixture. Stir with a sturdy spoon or spatula until everything comes together into a wet, sticky dough.
The dough should feel softer and stickier than traditional bread dough. Avoid adding large amounts of extra flour because a moist dough helps develop the airy texture inside the muffins.
Cover the bowl and let the dough rise in a warm place for 60–90 minutes, or until it has roughly doubled in size.
Step 3: Shape the Muffins
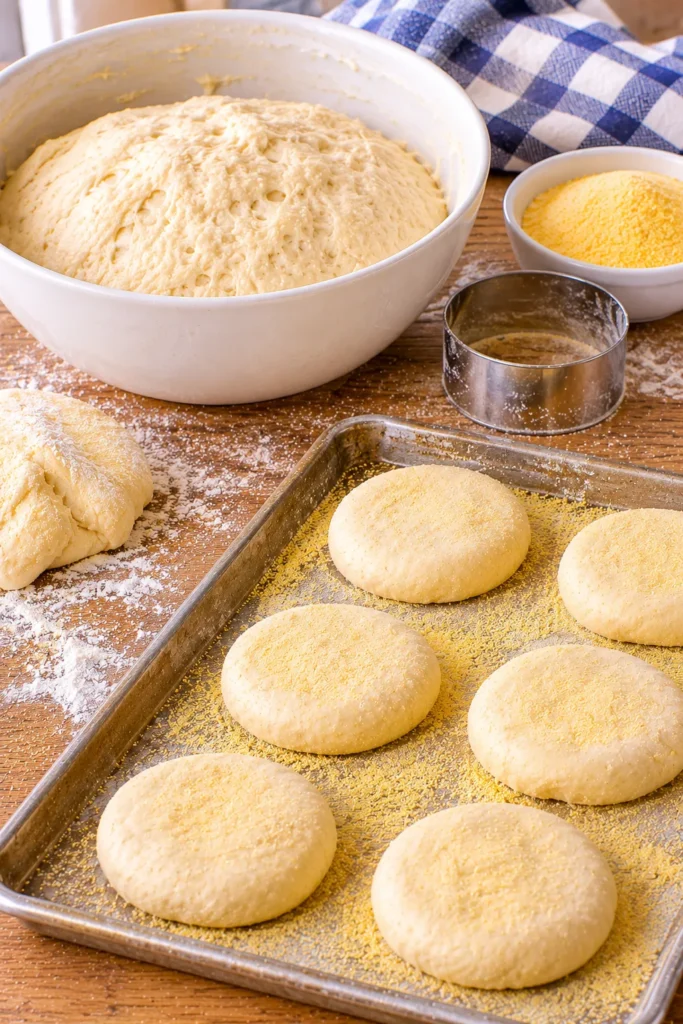
Generously sprinkle half of the cornmeal over a baking sheet.
Lightly flour your work surface and turn the risen dough onto it. Handle the dough gently to preserve as many air bubbles as possible.
Pat it to approximately 1-inch thickness. Use a round cutter to cut out 10 muffins, gathering and gently reshaping the scraps if needed.
Transfer the rounds to the prepared baking sheet. Sprinkle the remaining cornmeal over the tops, then cover loosely and let them rise for another 20–30 minutes.
Step 4: Heat the Skillet
Place a heavy skillet or flat griddle over low to medium-low heat. Allow it to warm gradually.
The skillet should be hot enough to brown the muffins slowly without scorching their outsides. If the pan is too hot, the crust may become dark before the centers have cooked through.
Step 5: Cook the English Muffins
Carefully transfer the dough rounds to the skillet, leaving space between them. Cook for approximately 7–9 minutes on the first side.
Flip gently and cook the other side for another 7–9 minutes. The muffins should develop a deep golden-brown crust and feel firm and springy when lightly pressed.
If they brown too quickly, reduce the heat. For extra help setting the centers, cover the skillet with a lid during the first few minutes of cooking, checking that the muffins are not browning too fast.
Cook in batches if necessary rather than crowding the pan.
Step 6: Cool and Fork-Split
Transfer the cooked muffins to a wire rack and allow them to cool completely before cutting.
For the classic nooks and crannies, use a fork to poke holes around the sides of each muffin. Gently pull the two halves apart.
Avoid slicing straight through the middle with a knife if you want to preserve the rough, airy surface that holds butter and jam so well.
Pro Tips for Perfect Nooks and Crannies
- Keep the dough sticky: Resist adding too much flour. A moist dough helps create a soft, airy crumb.
- Check your yeast: Fresh, active yeast is essential for a good rise. If it does not foam after sitting in the warm liquid, replace it before mixing the dough.
- Be gentle when shaping: Pressing or kneading the dough too aggressively can remove the air bubbles created during fermentation.
- Use low, steady heat: English muffins need time to cook through. A lower temperature helps prevent burnt crusts and doughy centers.
- Avoid overcrowding: Leave room around each muffin so you can flip them easily and cook them evenly.
- Use a lid when needed: Covering the skillet briefly can help heat reach the centers, but check frequently to prevent excessive browning.
- Cool before splitting: Hot muffins can compress and tear. Let them cool first for a cleaner fork-split texture.
- Toast before serving: Toasting the fork-split halves brings out the flavor and gives the edges a delicious crunch.
Common Mistakes to Avoid
Adding too much flour: This makes the dough stiff and can lead to dense muffins with fewer air pockets.
Using overheated liquid: Very hot milk or water can damage the yeast and prevent the dough from rising properly.
Skipping the second rise: The short rest after shaping helps the rounds become lighter before cooking.
Cooking over high heat: The outside may brown before the inside is fully cooked.
Flattening the dough too much: Pat the dough gently to about 1-inch thickness so the muffins have room to rise.
Using a knife to split them: A straight cut creates a smoother surface instead of the rough texture that catches butter.
Skipping the cooling time: Cutting into hot muffins can make the interior appear gummy and compress the crumb.
Variations and Easy Customizations
- Whole Wheat English Muffins: Replace up to half of the all-purpose flour with whole wheat flour. Expect a slightly denser texture and a more pronounced wheat flavor.
- Chewier English Muffins: Use bread flour instead of all-purpose flour for a firmer, chewier crumb.
- Lightly Sweet Muffins: Use honey instead of granulated sugar for a subtle sweetness.
- Cinnamon English Muffins: Add ½–1 teaspoon of ground cinnamon to the dry ingredients for a warm breakfast variation.
- Herb English Muffins: Add a little dried rosemary or oregano for a savory version that pairs well with eggs and cheese.
- Mini English Muffins: Use a smaller round cutter and reduce the cooking time, checking the centers carefully.
- Dairy-Free Version: Use an unsweetened plant-based milk and a suitable dairy-free butter alternative. The flavor and texture may vary slightly.
Serving Suggestions
Fresh English muffins are delicious with both sweet and savory toppings. Split them with a fork, toast until golden, and add your favorite toppings.
- Butter and Honey: Spread softened butter over a warm toasted muffin and drizzle with honey.
- Jam or Preserves: Try strawberry, raspberry, blueberry, or apricot jam.
- Eggs Benedict: Use toasted English muffin halves as the base for poached eggs, ham, and hollandaise sauce.
- Breakfast Sandwiches: Fill with scrambled or fried eggs, cheese, and your favorite breakfast meat.
- Avocado Toast: Add mashed avocado, lemon juice, salt, and black pepper.
- Peanut Butter and Banana: Spread peanut butter over a toasted muffin and top with banana slices.
- Cream Cheese: Add plain or flavored cream cheese for a quick breakfast or snack.
For more homemade breakfast inspiration, try these High-Protein Cottage Cheese Breakfast Tacos or make a batch of Easy Healthy Protein Waffles.
Storage and Reheating
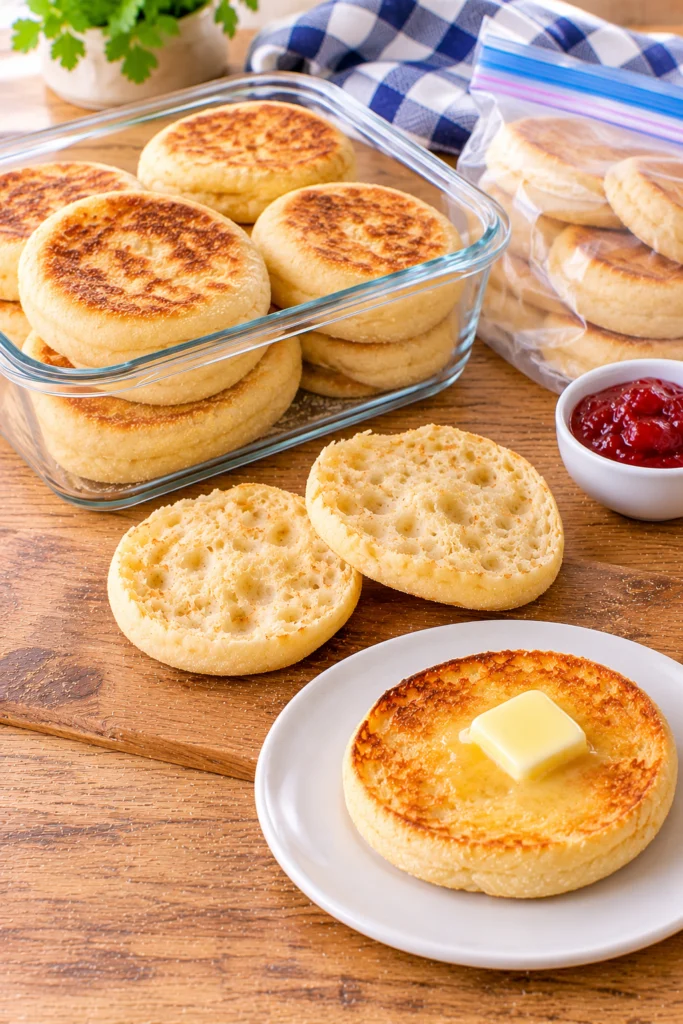
Allow the English muffins to cool completely before storing them. Trapping warmth inside a container can create condensation and make the crust damp.
Keep them in an airtight container or sealed bag at room temperature for up to 3 days. For longer storage, freeze them for up to 3 months.
For convenient breakfasts, fork-split the muffins before freezing and place parchment paper between them. You can then toast the halves directly from frozen.
| Storage Method | How Long | Instructions |
|---|---|---|
| Room Temperature | Up to 3 days | Cool completely and store in an airtight container or sealed bag. |
| Refrigerator | Not usually necessary | Room-temperature storage is preferable for short-term use. |
| Freezer | Up to 3 months | Freeze in a sealed freezer-safe bag, preferably fork-split first. |
| Reheating | Until warm and toasted | Toast split halves directly from frozen or thawed. |
Nutritional Information
The following values are approximate estimates per muffin, assuming the recipe makes 10 muffins and includes the flour, whole milk, butter, honey or sugar, and yeast. Cornmeal used for dusting may add a small amount. Actual nutrition varies with ingredient brands, the amount of cornmeal that sticks, and the final muffin size.
| Nutrient | Estimated Amount per Muffin |
|---|---|
| Calories | 210 kcal |
| Protein | 6 g |
| Carbohydrates | 39 g |
| Fat | 4 g |
| Saturated Fat | 2 g |
| Fiber | 1.5 g |
| Sugar | 3 g |
| Sodium | 250 mg |
Frequently Asked Questions
Why don’t my English muffins have nooks and crannies?
The texture comes from a moist dough, good yeast activity, and gentle handling. Adding too much flour, overworking the dough, or pressing out the air bubbles during shaping can make the muffins dense. Fork-splitting after cooling also helps expose the natural pockets inside.
Why is my English muffin dough so sticky?
This recipe uses a high-hydration dough, so stickiness is normal. The moisture helps create the airy interior. Lightly flour your work surface and use a dough scraper if needed, but avoid adding too much extra flour.
Can I make English muffins without a stand mixer?
Yes. A large mixing bowl and sturdy spoon or spatula are enough. The dough is intentionally soft, so you do not need to knead it like traditional bread dough.
Can I use instant yeast instead of active dry yeast?
Yes. You can generally use the same amount of instant yeast. Mix it directly with the flour and other dry ingredients, then add the warm milk, water, honey, and butter. Rising times may vary depending on room temperature and yeast activity.
How do I know when English muffins are cooked through?
The outsides should be deep golden brown, and the muffins should feel firm and springy when gently pressed. Because browning alone does not guarantee the centers are cooked, check a test muffin by opening it after cooling. The center should look set rather than wet or gummy. If needed, cook the remaining muffins longer over lower heat.
Can I bake English muffins in the oven?
This recipe is designed for skillet cooking, which creates the traditional griddle-cooked crust. You can experiment with finishing them in a moderate oven if the centers need additional cooking, but the texture and crust may differ from muffins cooked entirely on a griddle.
Can I use whole wheat flour?
Yes. Replace up to 50% of the all-purpose flour with whole wheat flour. The muffins will have a nuttier flavor and may be denser, so avoid adding extra flour unless the dough is unusually loose.
Can I freeze homemade English muffins?
Absolutely. Cool them completely, fork-split them, and place them in a sealed freezer-safe bag. They can be frozen for up to 3 months and toasted directly from frozen.
Should I split English muffins with a fork or knife?
Use a fork for the classic texture. Poke holes around the sides and gently pull the halves apart. This creates a rough surface with more little pockets for butter, honey, and jam.
More Recipes You’ll Love
If you enjoy making breakfast from scratch, try these other recipes from Findsyourrecipe:
- High-Protein Cottage Cheese Breakfast Tacos – A savory, protein-rich breakfast with a satisfying taco-inspired filling.
- Easy Healthy Protein Waffles – A simple homemade breakfast with a soft center and golden edges.
- High-Protein Cottage Cheese Bagels – A convenient homemade bread option for breakfast and sandwiches.
- Meal-Prep High-Protein Biscuits and Gravy Breakfast Bowls – A hearty breakfast you can prepare ahead for busy mornings.
- Cinnamon Apple Breakfast Quinoa – A warm breakfast with comforting cinnamon and apple flavor.
Final Thoughts
These Homemade English Muffins are worth making from scratch when you want a soft, airy interior, a golden griddle-cooked crust, and plenty of nooks and crannies for your favorite toppings. The dough is sticky by design, and the secret is to handle it gently and cook the muffins slowly over low heat.
Enjoy them warm with butter and jam, turn them into breakfast sandwiches, or freeze a batch for later. Once you make your own English muffins, you’ll have a delicious homemade breakfast staple ready whenever you need it.
Homemade English Muffins: The Ultimate Guide to Perfect Nooks and Crannies

Homemade English Muffins have a soft, airy inside, a lightly chewy texture, and a golden griddle-cooked crust. This easy from-scratch recipe uses a sticky, high-hydration yeast dough and a gentle stovetop cooking method to create the signature nooks and crannies that catch melted butter, honey, and jam. Make a batch for weekend breakfast, brunch, or freeze them for quick homemade breakfasts throughout the week.
- 3 ½ cups all-purpose flour (438g)
- 1 cup whole milk (240ml), warmed
- ½ cup warm water (120ml)
- 2 tablespoons unsalted butter (28g), melted and cooled
- 1 tablespoon honey or granulated sugar (15g)
- 1 packet active dry yeast (2 ¼ teaspoons / 7g)
- 1 teaspoon fine sea salt (6g)
- ½ cup yellow cornmeal (60g), for dusting
- Activate the Yeast
- Mix the Dough
- Shape the Muffins
- Heat the Skillet
- Cook the English Muffins
- Cool and Fork-Split
- Keep the dough sticky: Resist adding too much flour. A moist dough helps create a soft, airy crumb.
- Check your yeast: Fresh, active yeast is essential for a good rise. If it does not foam after sitting in the warm liquid, replace it before mixing the dough.
- Be gentle when shaping: Pressing or kneading the dough too aggressively can remove the air bubbles created during fermentation.
- Use low, steady heat: English muffins need time to cook through. A lower temperature helps prevent burnt crusts and doughy centers.
- Avoid overcrowding: Leave room around each muffin so you can flip them easily and cook them evenly.
- Use a lid when needed: Covering the skillet briefly can help heat reach the centers, but check frequently to prevent excessive browning.
- Cool before splitting: Hot muffins can compress and tear. Let them cool first for a cleaner fork-split texture.
- Toast before serving: Toasting the fork-split halves brings out the flavor and gives the edges a delicious crunch.

Bella is a home cook who turns simple, everyday ingredients into meals worth gathering around. On Finds Your Recipe she shares quick weeknight dinners, cozy comfort food, and easy desserts made for real, busy life — no fancy skills needed, just good food on the table.
Learn more about Bella